
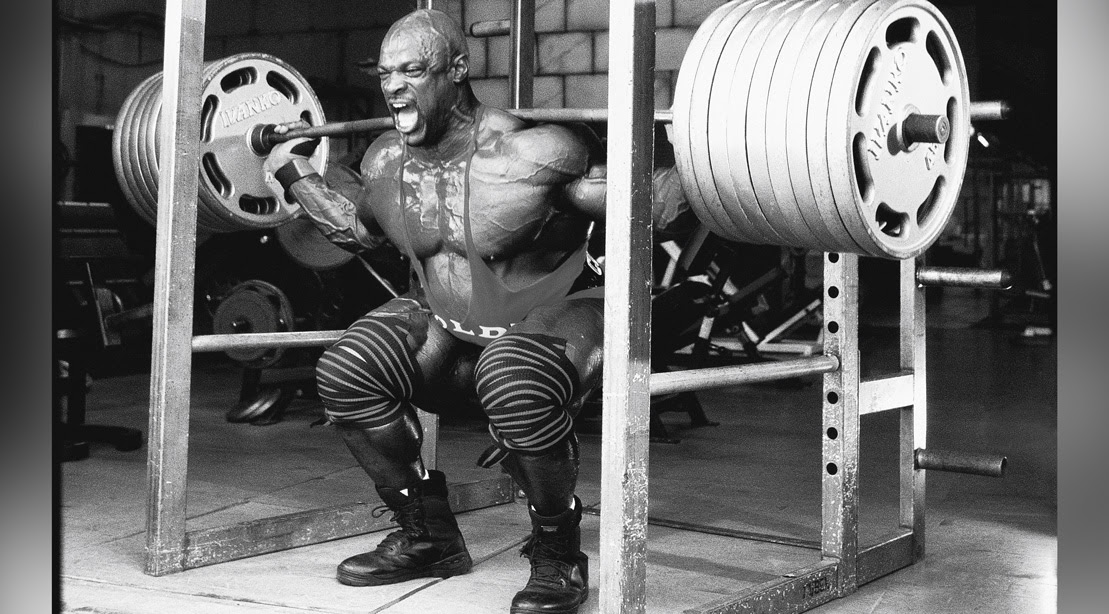
What is a Squat?
A squat is a fundamental exercise that targets the muscles of the lower body, primarily the quadriceps, hamstrings, glutes, and calves. It is a compound movement, meaning it engages multiple joints and muscle groups simultaneously, making it a highly effective exercise for building strength, power, and muscle mass.
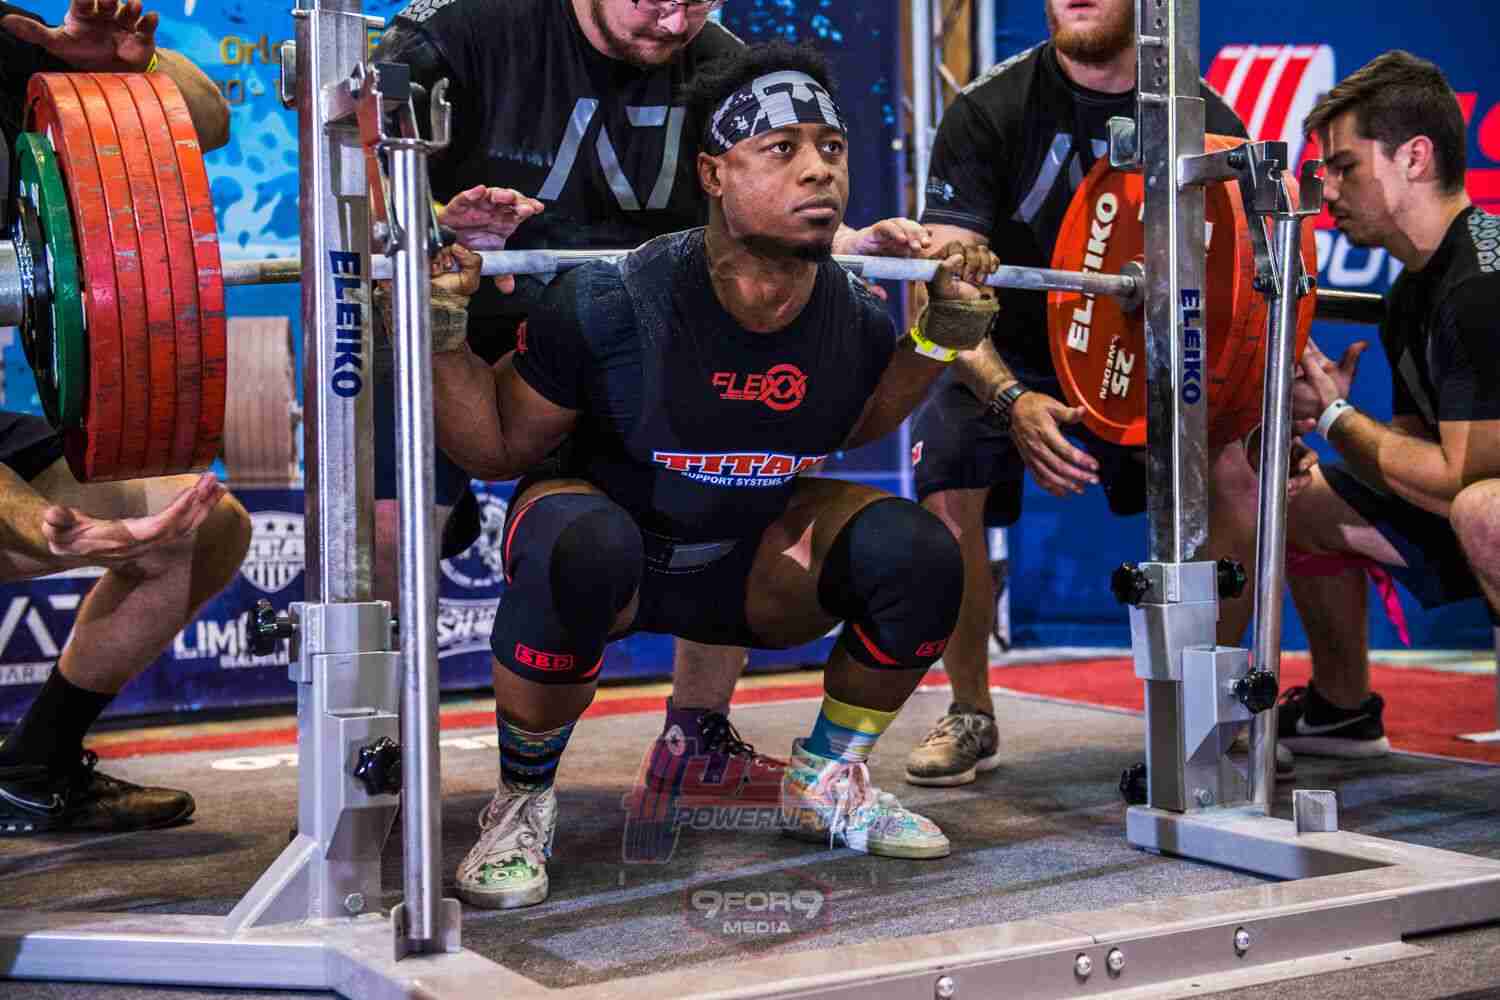
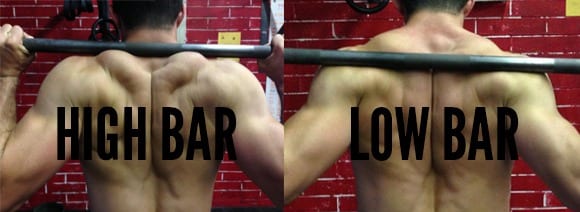
The squat has two main variants. The high-bar and low-bar squat are the two most common variations of the barbell back squat, each with distinct characteristics and benefits. They primarily differ in bar placement, body mechanics, and muscle activation. Choosing between them often comes down to your goals, mobility, and which position feels most natural under load.
High-Bar Squat 
The high-bar squat is a variation of the barbell back squat where the barbell is placed on the upper trapezius muscles, just below the neck. This position requires the torso to remain more upright throughout the movement. To perform a high-bar squat, stand with your feet shoulder-width apart, place the barbell on your upper traps, and grip it with your hands slightly wider than shoulder-width. Keeping your chest up and core engaged, descend by bending your hips and knees simultaneously until your thighs are at least parallel to the ground or lower. Your knees should travel slightly forward over your toes. Push through your heels to return to the starting position. The high-bar squat primarily targets the quadriceps due to the vertical torso position but also engages the glutes, hamstrings, and lower back.
Pros
This position promotes a more upright torso, emphasizing the quadriceps while also engaging the glutes, hamstrings, and lower back. The high-bar squat is beneficial for developing overall leg strength and improving balance and posture. Its more natural movement pattern makes it accessible for beginners and those looking to refine their squatting form. It is also the standard variation in Olympic weightlifting, since the upright position carries over well to the clean and snatch.
Cons
The high-bar squat can place more stress on the knees due to the greater forward knee travel required to maintain an upright posture. Lifters with limited ankle mobility may struggle to achieve proper depth, potentially leading to form breakdown. Additionally, the upright torso position can make it harder to handle heavier weights compared to the low-bar squat, since it relies more on the quadriceps than on the typically stronger posterior chain. Understanding these pros and cons can help you determine whether the high-bar squat suits your training goals and physical capabilities.
High-Bar Squat Form
- Place your hands on the bar about twice the width of your shoulders, or wherever feels most comfortable. Hand placement on the high bar is not especially important.
- Get under the bar and rest it on top of your traps, or just below the top. Ideally it sits directly on top of the traps.
- Place your feet about 1.5 times the width of your shoulders apart, or wherever feels most comfortable.
- Now brace and walk the bar out. Take no more than three steps on the walkout, ideally exactly three: one step to clear the rack, another to line your feet up, and a final step for any last adjustments.
- Now take a deep breath and brace. Brace your feet as well, imagining that you are trying to grip the floor with your toes. Note that your back should stay upright. It should always stay upright. Never compromise this position during the movement.
- Begin to squat. First break at the hips, then slowly descend until your upper legs are at least parallel to the floor. Now finish the squat and ascend, driving through the heels of your feet. Never push off the front of the foot, as this causes imbalance. Remember that throughout the entire movement you stay braced both in your abdomen and in your feet.
Low-Bar Squat
The low-bar squat involves placing the barbell lower on the back, across the rear deltoids, and just below the spine of the scapula (shoulder blades). This position requires a more forward lean of the torso and emphasizes a hip hinge movement. To perform a low-bar squat, stand with your feet shoulder-width apart, position the barbell on your rear delts, and grip it with your hands wider than shoulder-width. Engage your core, lean slightly forward, and initiate the squat by pushing your hips back while bending your knees. Descend until your thighs are parallel to the ground or slightly below, ensuring your hips travel back more than your knees travel forward. Drive through your heels to return to the starting position. The low-bar squat targets the posterior chain, including the glutes, hamstrings, and lower back, with less emphasis on the quadriceps compared to the high-bar squat.
Pros
This setup allows for a more horizontal torso angle, shifting the emphasis to the hips, glutes, and lower back and enabling lifters to handle heavier weights. The low-bar squat is excellent for building posterior chain strength and enhancing overall power and stability in the lower body. Because it recruits these larger, stronger muscle groups, it is the variation favored by most competitive powerlifters.
Cons
The low-bar squat can be harder on the shoulders and wrists due to the lower bar placement, requiring greater shoulder mobility and flexibility. The forward-leaning torso position increases the demand on the lower back, which can be risky for those with existing back issues. Additionally, the technical nature of the low-bar squat can make it challenging for beginners to master. Understanding these pros and cons can help you decide whether to incorporate low-bar squats into your training regimen and how to balance them with other squat variations to achieve your fitness goals.
Low-Bar Squat Form
- Place your hands on the bar about twice the width of your shoulders. A narrower grip than this helps tighten the upper back and create a more stable shelf for the bar.
- Get under the bar and place it across the lower end of your traps and the top of your rear delts.
- Now lock your elbows in place by driving them down and back so they flare out slightly. This tightens your upper back and locks the bar in place.
- Place your feet about 1.5 times the width of your shoulders apart, or wherever feels most comfortable.
- Now brace and walk the bar out. Take no more than three steps on the walkout, ideally exactly three: one step to clear the rack, another to line your feet up, and a final step for any last adjustments.
- Now take a deep breath and brace. Brace your feet as well, imagining that you are trying to grip the floor with your toes. Note that you should naturally lean slightly forward to account for the lower placement of the bar on your back.
- Begin to squat. First break at the hips, sitting them back, then slowly descend until your upper legs are at least parallel to the floor. Now finish the squat and ascend, leading with the hips and driving through your heels. Remember that throughout the entire movement you stay braced both in your abdomen and in your feet.
Equipment
As your squat strength increases, the use of equipment becomes extremely beneficial: it improves performance and safety while minimizing the risk of injury. Some of the most common pieces of equipment include a weightlifting belt, wrist wraps, knee wraps, knee sleeves, squat shoes, a squat suit, chalk, and elbow wraps.
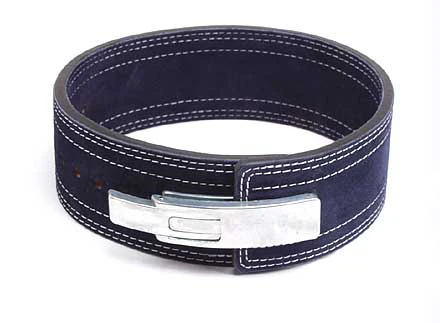
Weightlifting Belt
A weightlifting belt is one of the essentials for the squat. It helps stabilize the spine throughout the movement by giving your abdomen something to push against when you brace, which increases intra-abdominal pressure and provides further spinal support. This added support can allow you to brace harder and lift more weight more safely. Some good brands include SBD and Inzer.
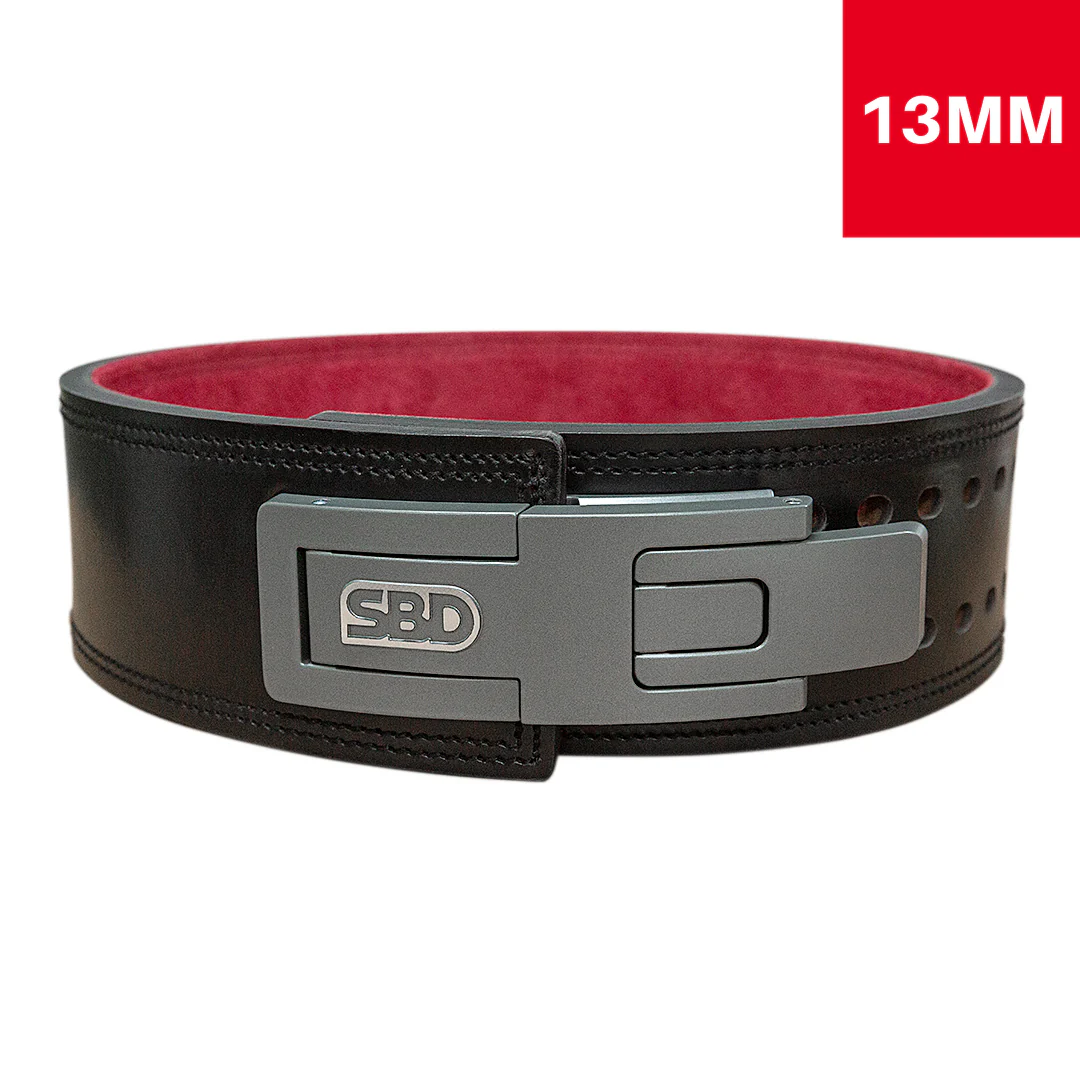
SBD Weightlifting Belt
Check Out
Inzer Weightlifting Belt
Check Out
Knee Wraps / Sleeves
Knee wraps and sleeves are very useful for squats, as they provide support to the knees throughout the movement. Knee sleeves and knee wraps do differ, however. A knee sleeve provides a fixed amount of compression and is mainly used for warmth, joint support, and a little extra stability, whereas a knee wrap can be wrapped as tight as you want to store elastic energy and rebound out of the bottom of the squat. Some good brands for knee wraps and sleeves are SBD and Inzer.
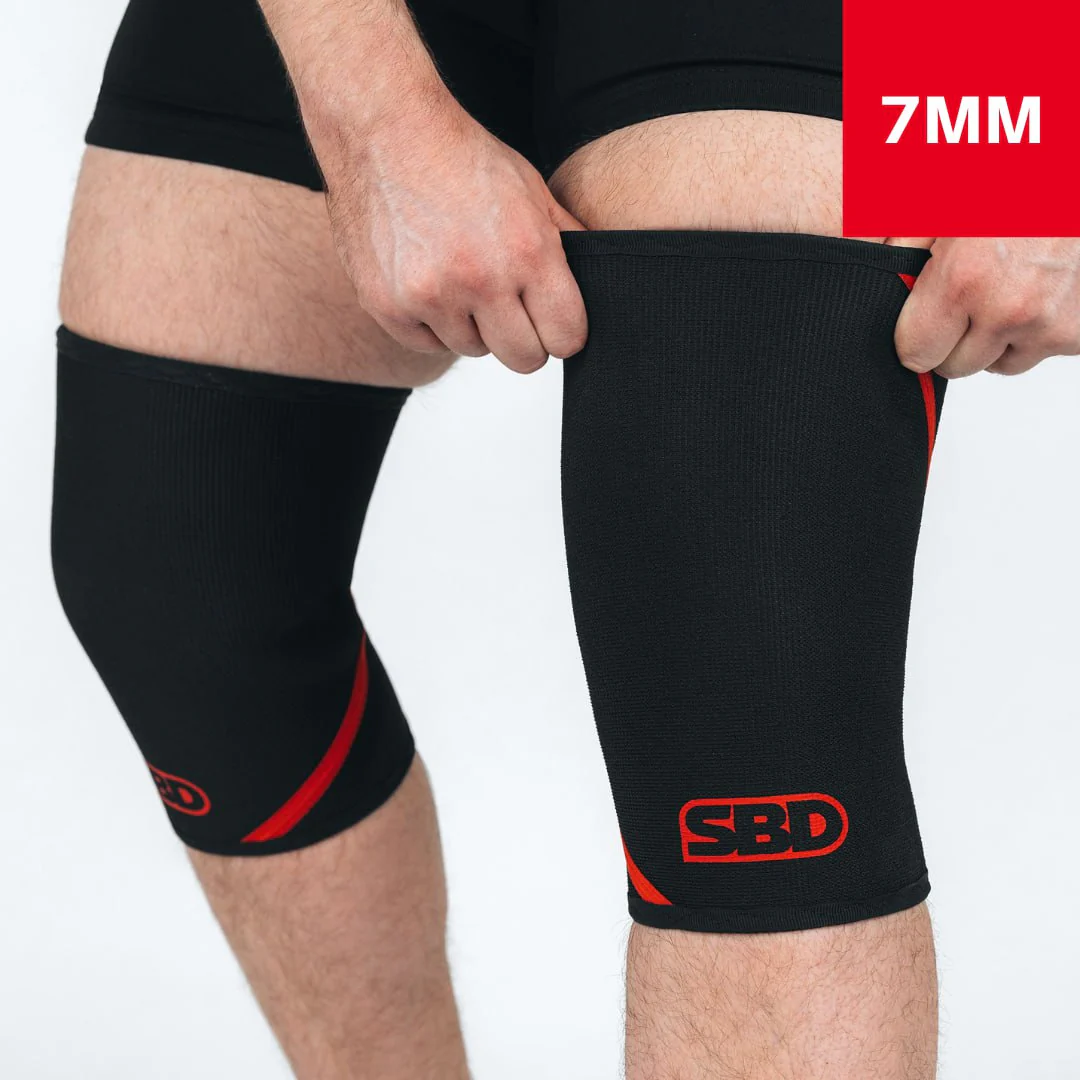
SBD Knee Sleeves
Check Out
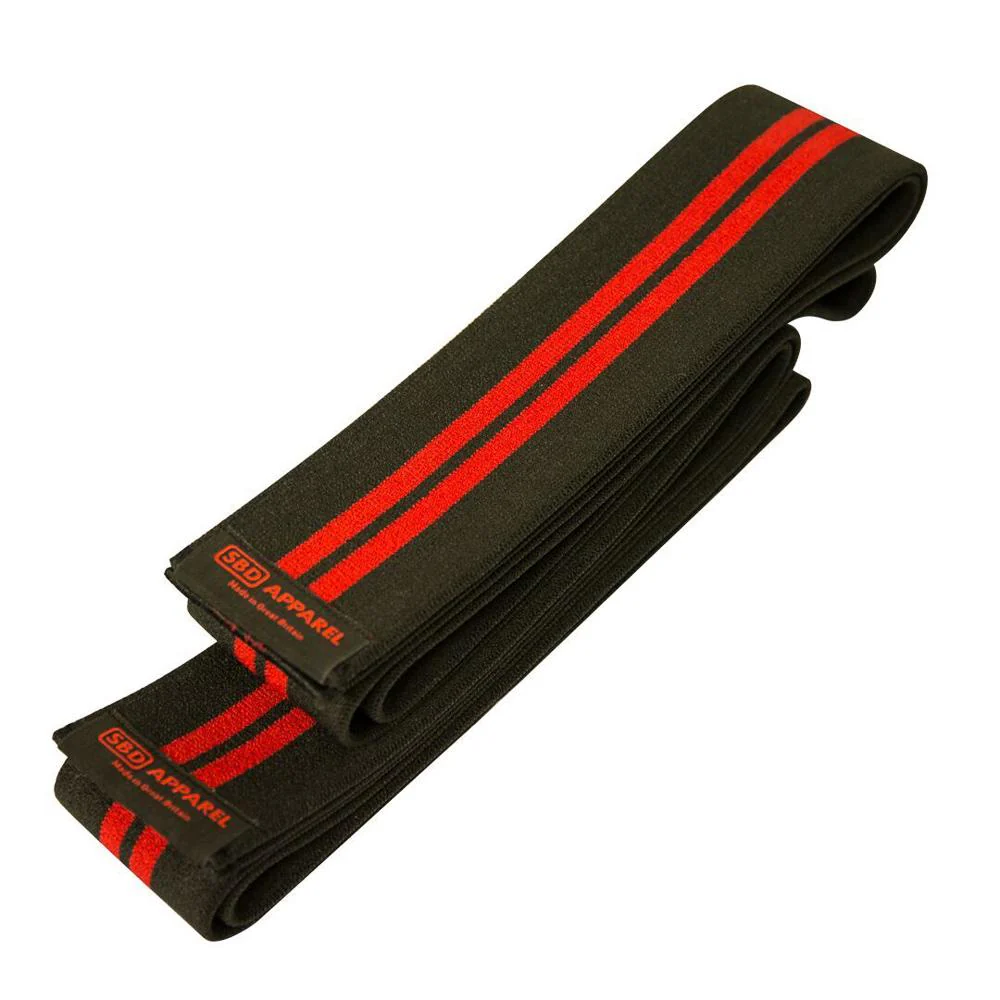
SBD Knee Wraps
Check Out
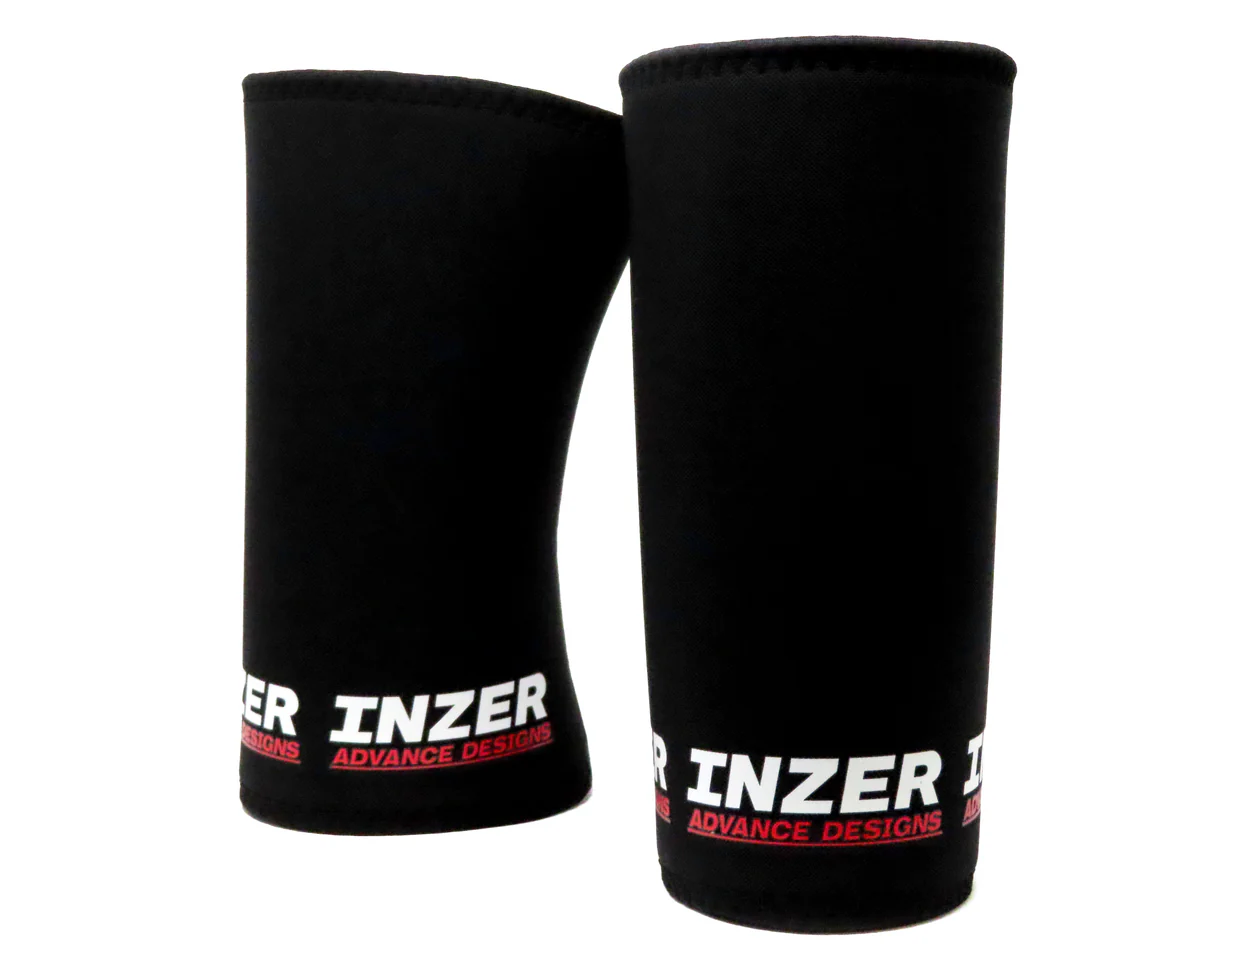
Inzer Knee Sleeves
Check Out
Wrist Wraps
Wrist wraps can be very beneficial on the low-bar squat; some would even say they are essential for it. Because the low-bar position requires you to lock the bar in place with your hands and elbows, a lot of pressure can be placed on the wrists. Wrist wraps brace and stabilize the wrist joint, making them a valuable tool for injury prevention on the low-bar squat.
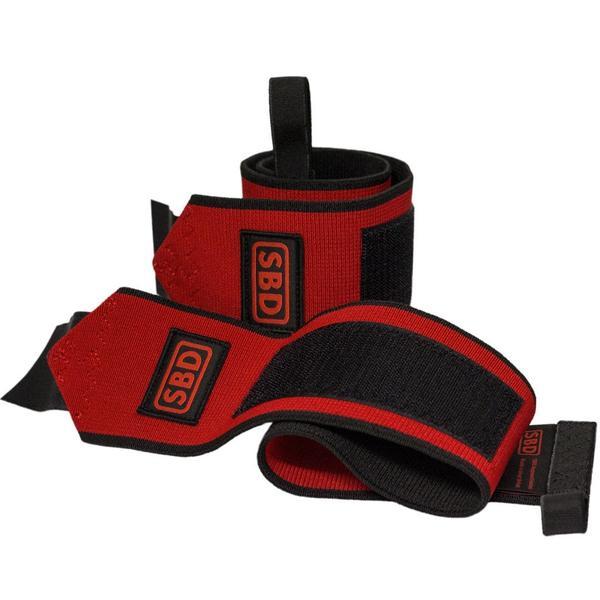
SBD Wrist Wraps
Check Out
Bracing & Breathing
Bracing
Bracing is a very important part of compound movements, especially the squat. It involves creating intra-abdominal pressure by taking a deep breath into your belly and tightening the core muscles (including the abdominals, obliques, and lower back) before lifting or exerting force. This pressure acts like an internal "weight belt," supporting the spine and reducing the risk of injury by maintaining a stable, neutral spinal position. A good brace also creates a rigid trunk, so more of your force transfers into moving the bar rather than being lost to a soft midsection.
90/90 Breathing
90/90 breathing is a specific breathing exercise designed to enhance diaphragmatic breathing, improve core stability, and promote proper ribcage and pelvic alignment. It is performed lying on your back with your hips and knees bent to roughly 90 degrees, which positions the ribcage over the pelvis and lets you feel a full, 360-degree breath. The technique is often used in physical therapy, strength training, and rehabilitation to correct breathing patterns and improve overall movement efficiency. Practicing it is a valuable way to strengthen your bracing and spinal support when lifting, especially on both the high-bar and low-bar squat.
Featured Squat Programs
Smolov Jr Squat
- 3 weeks
- 4 days/week
- Squat-focused
Texas Method Squat
- 3 days/week
- Weekly undulating
- Squat-focused
StrongLifts Squat
- 3 days/week
- Linear progression
- Squat-focused